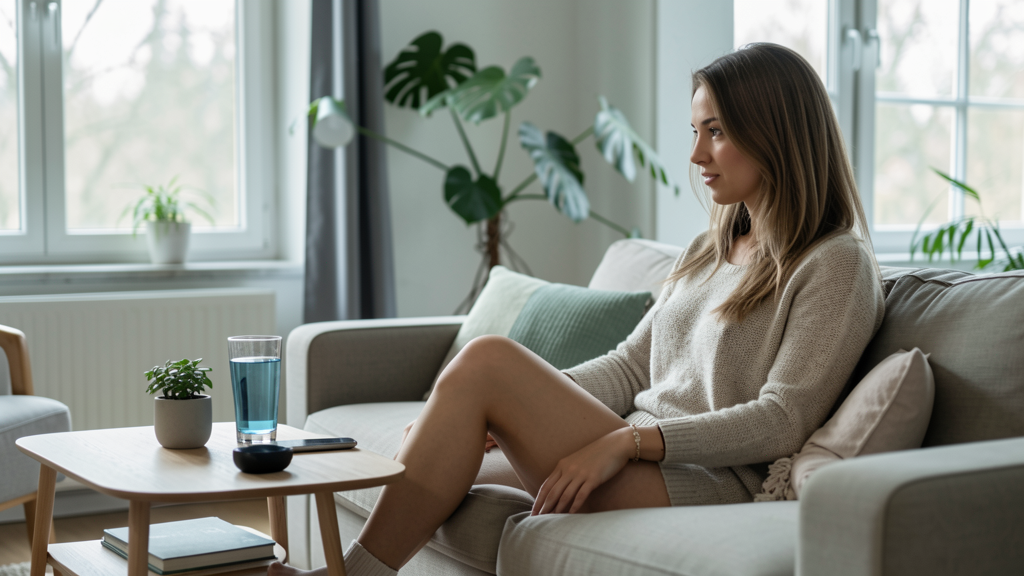
In 2026, the distinction between our living spaces and our broadcast personas has blurred permanently. Whether you are pitching to a client or catching up with a remote team, the visual quality of your transmission acts as an unspoken signal of your competence. The harsh reality is that standard ceiling fixtures—often designed for utility rather than ambiance—cast unflattering shadows that obscure facial features and drain the energy from the room. You do not need a studio-grade rig to fix this. You need a controlled, reliable light source that sculpts your features rather than flattening them.
The solution lies in a specific hardware choice: a dimmable LED ring light with a standalone stand or clamp, priced around $50. This tool is not merely for beauty influencers; it is the fastest way to achieve a balanced, professional exposure that hides the chaotic reality of a home environment. I have tested dozens of configurations over the years, and the $50 sweet spot offers the highest return on investment without introducing the complexity of strobes or softboxes.
Here is how to execute a flawless setup that respects your wallet and your interior design.
Selecting the Right Hardware Without Overpaying
Before you buy, understand that brand markup is the enemy of budget decorating. You need a unit that offers variable color temperature and dimming capabilities. Avoid fixed "daylight" only models. Look for specifications ranging from 3000K (warm) to 5500K (cool daylight).
Action 1: Purchase a 10-to-12-inch ring light with a tripod or C-clamp.
Ensure the tripod extends to at least 50 inches, or that the clamp has a sturdy gooseneck. The 10-inch diameter is the minimum required to create a pleasant catchlight in your eyes without overwhelming a small desk. Anything smaller acts like a harsh spotlight; anything larger may dominate your physical workspace.
Action 2: Verify power source options.
Battery-powered units offer freedom but introduce anxiety about charging. For a permanent WFH station, a wired USB-powered unit is superior. It reduces cable clutter and ensures the light is always ready when you open your laptop lid.
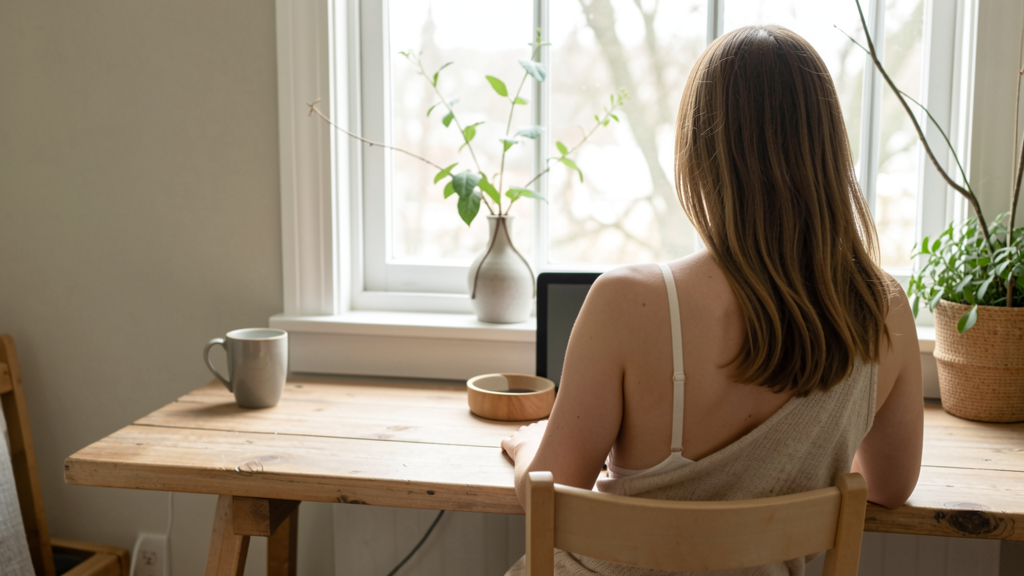
Strategic Placement for Depth and Dimension
Placing the light directly behind your camera is the most common mistake amateurs make. It flattens the face, removing the shadows that give bone structure its definition. You want to mimic the "Rembrandt" lighting style used in photography, which uses a key light to one side to create a triangle of shadow on the cheek.
Action 3: Position the light stand to the side of your monitor.
Place the ring light at a 45-degree angle relative to your face. If you are right-handed, place it on the left side to avoid casting shadows when you write or gesture.
Action 4: Adjust the height and angle.
The center of the ring light should be slightly above your eye line. Tilt the light downward so it illuminates your face and chest, but not the wall directly behind you. This technique separates you from the background, creating a sense of depth that makes your video feed look three-dimensional.
If you find the light too direct, move it further away and increase the brightness. Diffusion increases as distance grows, softening skin texture.
Merging Functional Illumination with Decor
A ring light is an industrial object. Left unchecked, it can look like medical equipment in the middle of a curated home office. The trick is to integrate it into the visual rhythm of the room rather than hiding it. When we discuss maximalism vs. minimalism, the core principle is intentionality. Your lighting should feel like a deliberate design choice.
Action 5: Coordinate the light with your existing metallic accents.
If your desk hardware is brass, a black ring light might feel jarring. Conversely, a silver or white ring light fits seamlessly into modern, monochromatic setups. Consider using cable sleeves to match the power cord to your wall color, making the hardware disappear.
Action 6: Use the ring light to highlight background decor.
By adjusting the angle slightly away from your face, you can use the spill light to illuminate a plant or a piece of art behind you. This creates a layered lighting effect that looks far more expensive than it is. It turns a single light source into a dual-purpose tool that enhances both the subject and the setting.
Calibrating Color Temperature for Time of Day
Your eyes and brain adjust automatically as the sun moves across the sky; your camera sensor does not. A mismatch between your light and the environment causes color casts that make you look sickly or jaundiced.
Action 7: Set the temperature based on the time of your calls.
For morning calls before 10:00 AM, set the ring light to a cooler tone (4500K–5000K). This mimics morning daylight and signals alertness.
For late afternoon or evening calls, shift to a warmer tone (3200K–3500K). This harmonizes with the warmer ambient light of a setting sun or residential lamps, creating a cozy, relaxed atmosphere.
Action 8: Match your monitor's "Night Light" or "True Tone" settings.
Ensure your computer screen is not blasting blue light while your face is bathed in warm orange. Go into your display settings and synchronize the screen warmth with your ring light temperature. This consistency is the secret sauce of a high-quality broadcast aesthetic.
Managing Cables and Mounts Without Damage
Renters and those wary of drilling holes often struggle with stabilizing lighting equipment. A wobbly light destroys professional credibility instantly. You need a rock-solid mount that leaves zero trace.
Action 9: Use a weighted C-clamp with protective padding.
Clamp the light to the back of your desk rather than the side. This keeps the device out of your peripheral vision and prevents the "knee bump" mishap. Ensure the clamp has silicone or rubber grips to protect your wood finish. This non-invasive approach mirrors the logic behind how I transformed my rental bathroom without structural changes—adaptation over alteration.
Action 10: Secure the cable with adhesive clips.
Run the USB cable along the back leg of the desk and secure it every 6 inches. Do not leave slack on the floor. A taut cable prevents accidents and maintains the clean lines of your workspace.
Elevating the Atmosphere Beyond the Visual
Once your lighting is dialed in, consider the sensory experience of your workspace. We often fixate on the visual because video is a visual medium, but the "vibe" of a call is holistic. A well-lit room that smells stale or sterile undermines the effort you put into your appearance.
While you are adjusting your hardware, consider why scent layering is the secret to a luxe home atmosphere. I keep a diffuser with a neutral, woody scent like cedar or sandalwood just out of frame. It subconsciously relaxes me during high-stakes presentations, and I believe that calm energy translates through the camera.
The Confidence of Competence
Setting up this $50 rig is not just about vanity. It is about taking control of your environment in a world where digital real estate is prime property. When you look good, you feel good, and that psychological shift is palpable to the people on the other end of the call. You stop apologizing for your connection or your lighting and start focusing entirely on your message. That is the ultimate functional beauty of this setup—it removes the friction between you and your work, allowing your competence to shine through without interference.