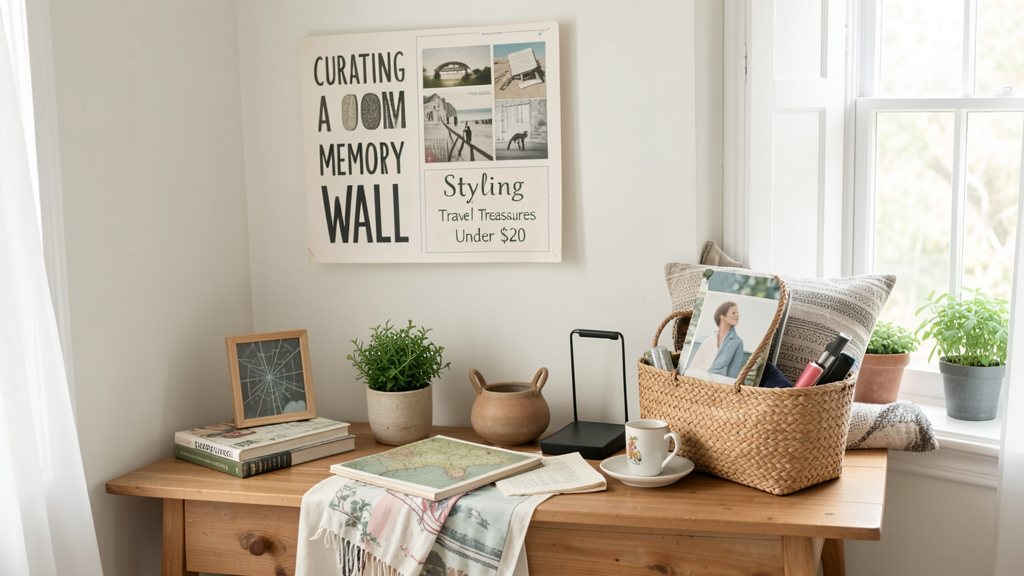
Editorial image illustrating Curating a Memory Wall: Styling Travel Treasures for Under $20
We have all been there. You return from a two-week stint in Rome or a long weekend in Mexico City, open your suitcase, and stare at a collection of items that seemed charming in a tiny market stall but suddenly look like pure junk in your living room. Snow globes gather dust. Mass-produced ceramic magnets chip and fade. These objects do not enhance your home; they create visual noise.
I have edited enough interior design spreads to know that the difference between a curated collection and clutter comes down to editing and mounting. The memory wall is not about displaying everything you own; it is about creating a deliberate visual narrative. The goal is to elevate a $2 ticket stub to the status of art. If you are ready to purge the plastic Eiffel Towers and focus on what actually matters, you can build a sophisticated display for under $20.
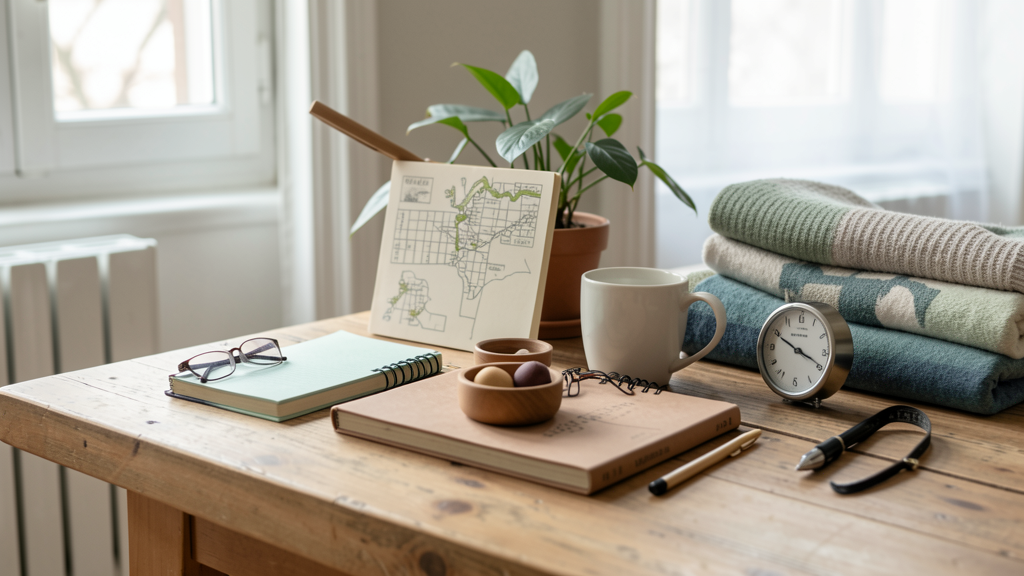
This process works best when you stop buying souvenirs and start collecting fragments. I am talking about the metro ticket from Tokyo, a coaster from a cafe in Lisbon, or a piece of driftwood from a beach in Costa Rica. These are flat, graphic, or textural elements that can be framed or mounted easily.
Phase One: The Ruthless Edit
Before you spend a single cent on supplies, you must curate the content. Most people fail at this stage because they attach sentimental value to objects that lack aesthetic value. Design requires objectivity.
Take every travel memento you own—every ticket, postcard, map, shell, and trinket—and lay them out on a large table or the floor. You are looking for a cohesive narrative. Choose one specific trip or a specific color palette. Trying to mix ten different trips from five different continents often results in a messy, chaotic wall unless you are exceptionally skilled at composition.
Sort the items into three piles: Keep, Donate, and Archive. The Archive pile is for things you want to keep but do not need to display (like that heavy stone you lugged back from 2018). The Keep pile should be small. I typically limit a memory wall to seven to ten strong focal points.
For example, if you are focusing on a trip to London, you might keep a Oyster card, a pressed flower from Kew Gardens, a business card from a speakeasy in Soho, and a vintage theatre program. Everything else—the plastic keychains, the generic tea towel—goes into the Donate or Archive box. This step is the hardest part of the process, but it is essential. The Concept of 'Slow Travel' and Why It Saves You Money encourages us to accumulate fewer, better things, and this philosophy applies perfectly to decor.
Step 1: Establish Your Unified Palette
Look at your Keep pile. What is the dominant visual thread? It might be a color—sepia tones, various shades of blue, or the stark black and white of street photography. Or it might be a texture—rough paper, rusted metal, or smooth fabric.
Your unified palette dictates the mounting materials. If your souvenirs are colorful and chaotic, your frames need to be uniform and neutral to ground the composition. I recommend matte black, white, or natural wood. If your souvenirs are monochromatic and minimal, you can get away with a more eclectic mix of frames, perhaps gold or brass, to add warmth.
Do not mix wood tones. Pick one wood species—like walnut—and stick to it. Mixing oak, pine, and mahogany looks accidental rather than designed. For this budget project, we will be sourcing frames that we can paint or modify, so you can force them to match your chosen palette.
Step 2: The Thrift Store Hunt (Budget: $12)
Your budget is tight, so we are avoiding the high-end design district. Head to your local thrift store, charity shop, or dollar store with $12 in your pocket. You are not looking for beautiful frames; you are looking for shapes and sizes that will disappear when painted.
Look for:
- Glass clip frames: These are the cheapest option. They consist of two pieces of glass or plastic held together by clips. They are incredibly modern and perfect for pressing flat items like leaves or tickets between the panes.
- Mismatched wooden frames: Ignore the gold finish or the 1980s floral border on the wood. If the shape is pleasing, buy it.
- Floating shelves: Sometimes you can find small, simple wall ledges for a few dollars. These are excellent for 3D objects like shells or small souvenirs that cannot be framed.
You should aim to find 4 to 6 frames for under $12. Do not worry if they are ugly. A can of $4 spray paint (matte black or white) will hide a multitude of sins.
Step 3: The "Floor Layout" Technique
Do not put holes in your wall until you are 100% sure of the arrangement. Clear a space on the floor that matches the dimensions of the wall where you plan to hang the collection.
If your wall is above a desk or a sofa, measure that furniture width. Your arrangement should not be wider than the furniture underneath it; this grounds the display and makes it look intentional. If you are hanging it on a blank wall, keep the center of the grouping at approximately 57 inches from the floor—this is the standard eye-level height in galleries.
Start with your largest piece. Place it slightly off-center. Lay the other frames around it. The most common mistake beginners make is spacing the items too far apart. Keep the gaps between frames tight—between 1.5 and 2 inches. This proximity creates a unified "block" of art rather than a scattering of random objects.
Step back. Walk away and grab a coffee. Come back and look at the layout again. Does it feel balanced? If you have a large, heavy frame on the left, try to balance it visually with two smaller frames on the right. You are balancing visual weight, not physical size. Once the floor layout works, take a photo of it for reference.
Step 4: Preparing and Painting Your Frames
Take your thrift store frames apart. Remove the glass and the backing. If the frames are dirty, wipe them down with a damp cloth. If they have shiny varnish or oil paint, give them a quick sand with fine-grit sandpaper so the new paint adheres.
Take your frames and the spray paint outside. Apply two thin, even coats. Thin coats prevent drips and give a smoother finish than one thick coat. Let them dry completely. While they dry, clean the glass panes. Fingerprints on the inside of the glass are a pet peeve of mine; they ruin the crispness of the design.
Step 5: Mounting the Objects
This is where you transform trash into treasure. For paper items like tickets, maps, or postcards, you have a few options.
- The Float Method: Use double-sided tape or a tiny dab of glue to place the ticket in the exact center of the white mat board (or the white backing card if the frame didn't come with a mat). This leaves a white border around the item, which gives it "breathing room" and makes it look like a museum piece.
- The Full Bleed Method: If the item is a beautiful postcard, you can trim it slightly or place it edge-to-edge in a frame with no mat. This works well for larger, scenic images.
- The Layer Method: Place a map on the backing board, then glue a ticket and a photo on top of the map. This adds depth and tells a more complex story.
For 3D objects, use a strong clear adhesive or a small dab of hot glue. Be careful not to use too much; you do not want globs of glue visible on the object.
Step 6: Hanging the Collection
You will need a hammer, nails, and a level. Translating your floor layout to the wall requires precision.
Start with the center piece. Using your photo as a guide, measure where the nail should go. Hammer it in and hang the frame. Use your level to ensure it is straight.
Work outwards from the center. Hang the next frame to the left, then the one to the right. Check the levels constantly. Because the world is rarely perfect, you might find that your 57-inch height rule needs to shift slightly to avoid hitting a stud or an awkward patch of drywall. That is fine. Adaptability is part of the process.
If you used glass clip frames, they usually have a sawtooth hanger on the back. Make sure your nail is small enough that the head doesn't show, or use a picture hook that keeps the nail head hidden.
Step 7: The Lighting Adjustment
Good lighting is the difference between a DIY project and a professional installation. You do not need to install expensive track lighting. If your memory wall is near a desk, simply angle an existing desk lamp towards the display. The direct light creates shadows and highlights the texture of the paper and frames.
If the wall is in a hallway, consider swapping your ceiling bulb for a spotlight or a higher-lumen LED. The goal is to make the wall readable. You want people to stop, look, and ask, "Where did you get that?"
A Living Archive
When you finish, you will have spent roughly $16 on frames and $4 on paint. You have a bespoke art installation that actually means something to you. The best part about this system is that it is fluid. As you travel more—and if you follow 6 Items You Should Never Pack for a One-Week European Trip, you will have plenty of room in your luggage for small items—you can swap out the contents of the frames.
Next year, you might replace the Tokyo metro ticket with a business card from a restaurant in Buenos Aires. The frame stays on the wall; the story changes. This is sustainable design. It rejects the idea that our homes should be static museums of our past and instead treats them as dynamic reflections of our evolving lives.